Create, publish and run your first Bolna workflow from the dashboard or with curl: a qualification call with an automatic retry ladder for unreachable contacts.
This quickstart builds a workflow that calls a contact with one of your agents, ends successfully when the call completes, and retries up to three times with a 2-minute gap when the contact is busy or doesn’t answer.You need an existing agent — grab its agent_id from the dashboard or the List Agents API.
The Dashboard tabs below walk the same workflow through the visual editor. See Using the Workflow Editor for a full tour of the canvas, toolbar and validation. Running a single contact and viewing an execution don’t have a dashboard walkthrough here yet — use the API for those two steps.
1
Create the workflow
Dashboard
API
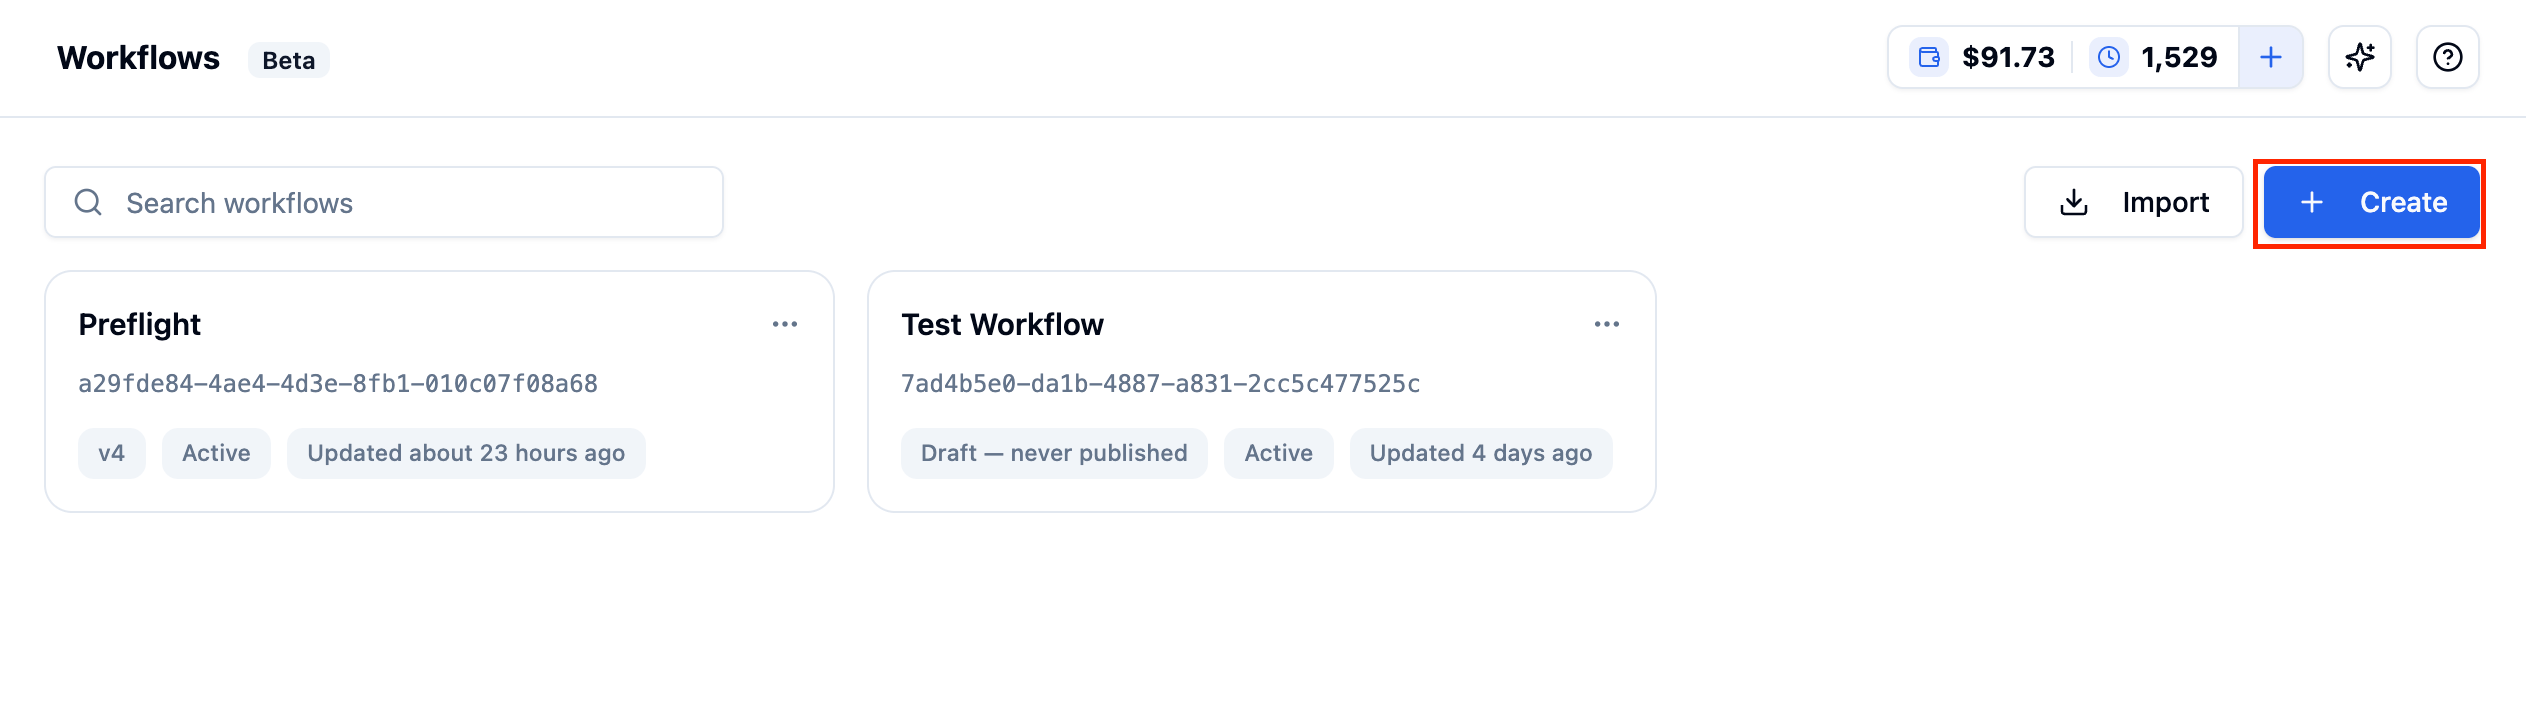
In the left sidebar, expand Build and click Workflows, then click Create. It opens directly in the editor with an empty draft and a single Start node already on the canvas — name it from the breadcrumb at the top.
Creating a workflow from the Workflows list
Create the container with the Create Workflow API. It starts with an empty draft at revision 0:
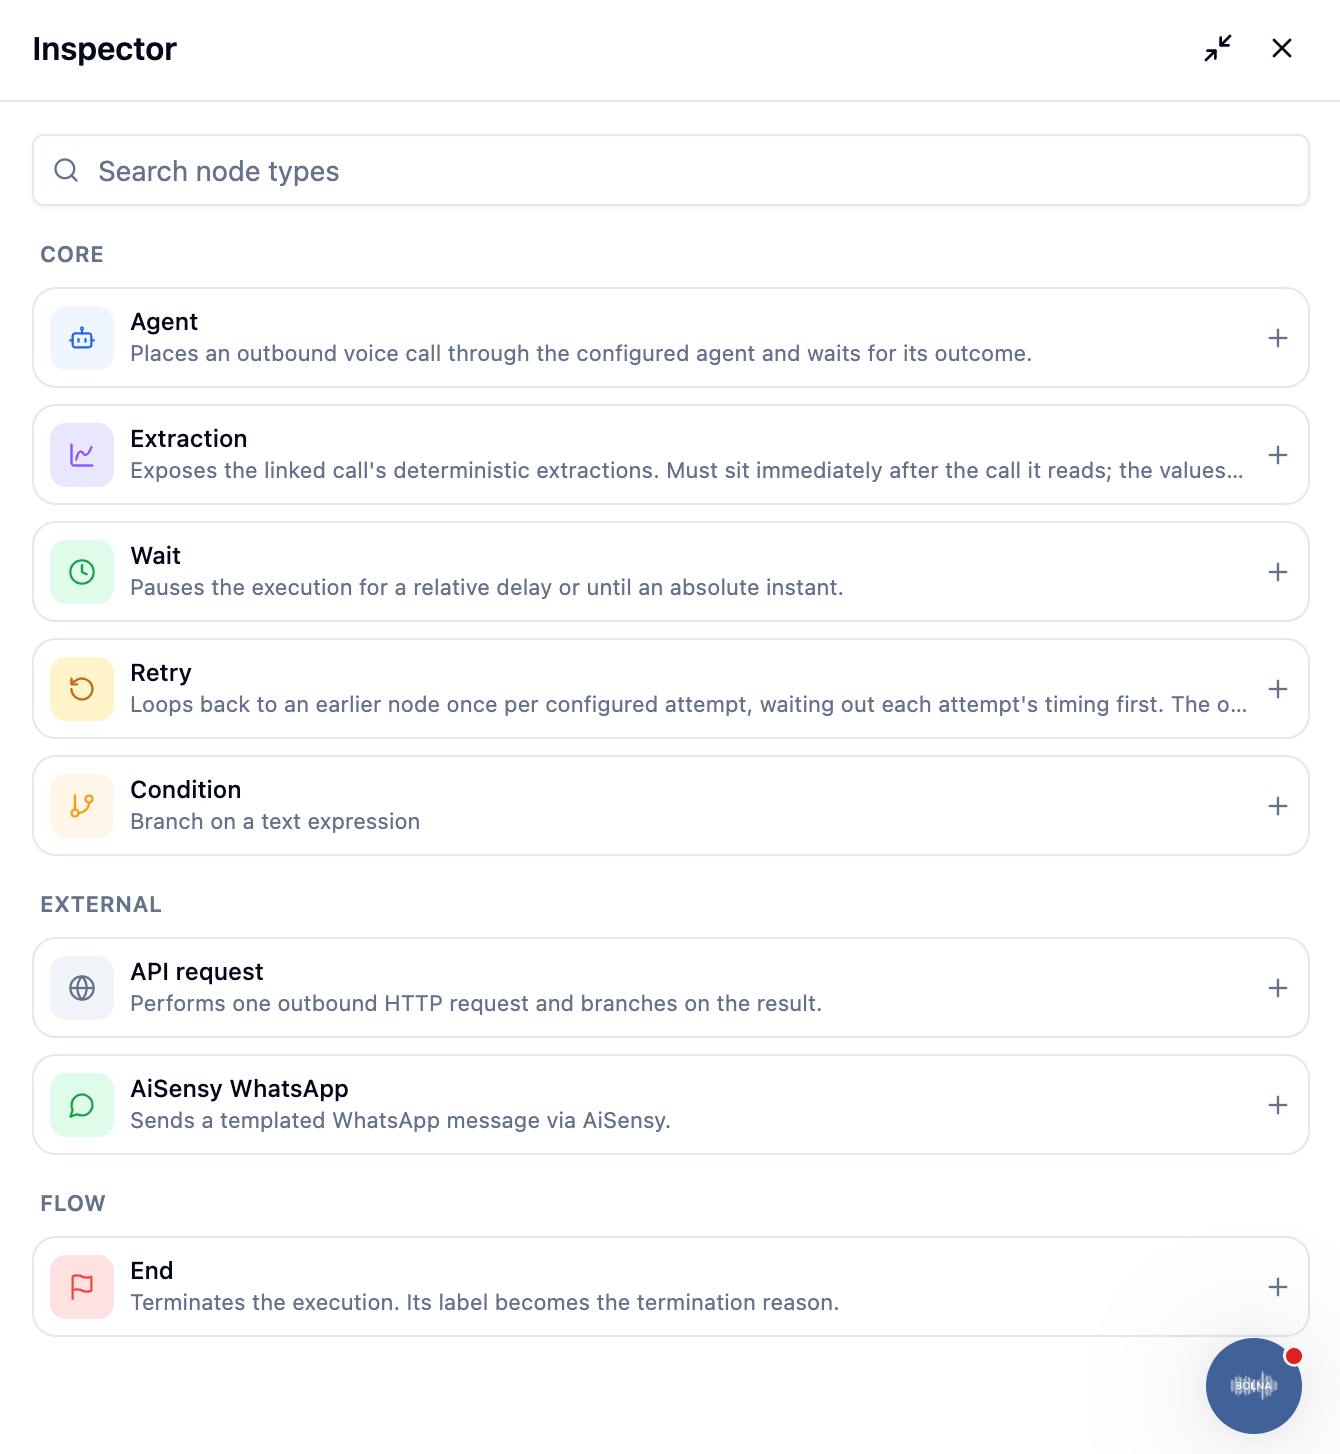
Click Add node to open the node catalog in the Inspector, drop each node on the canvas, connect it, then open it to fill in its config — the same fields documented in Workflow Nodes. For this workflow: an Agent node wired to two branches — a completed call to an End node labeled reached, and a busy or unanswered call to a Retry node targeting the agent call again, with three 2-minute attempts before its own End node labeled unreachable.
The node catalog, opened from Add node
The canvas saves the draft as you edit — there’s no separate save action, and no revision number to track; the editor always writes against the current draft.
Save the graph with the Save Draft API. expected_revision is the revision you last read — 0 for a fresh workflow — and each save returns the next one.The graph: start routes to the agent call. A completed call ends as reached; a busy or unanswered call goes to the retry node, which re-runs the call up to 3 times, 2 minutes apart, before giving up as unreachable. Anything unhandled falls through to the workflow-wide on_no_match ending.
A stale expected_revision returns 409 revision_conflict with the current_revision — re-read the draft and retry. This protects you when several editors (or the dashboard canvas) touch the same draft.
3
Validate
Dashboard
API
Click the checkmark button in the toolbar. It runs the same checks as the API and shows a badge with the number of unresolved issues; fix each one and re-check until the badge clears. See Validating for what it looks like with nothing pending.
Check the graph without mutating anything using the Validate API. Issues with severityerror block publish; warnings do not.
Click Publish in the toolbar. This freezes the draft as a new version and reopens a fresh draft for further edits — the same as the API. Past versions are listed under Version history, where you can restore or copy any of them.
The toolbar's Publish button
Freeze the draft as version 1 with the Publish API. Publishing opens a fresh draft at revision 0 for future edits:
reference_id is the contact’s identity: running it again returns 409 duplicate_run with the existing execution_id, so the call is safely retryable. To run many contacts at once, use a campaign instead.
6
Poll the execution
Follow the contact with the Get Execution API until status is terminal (completed, failed, cancelled or aborted):