Opening the editor
Navigate to Agents in the dashboard, then either:- Click New agent and choose Graph agent to create a blank agent.
- Click an existing graph agent to open it for editing.
Editor layout
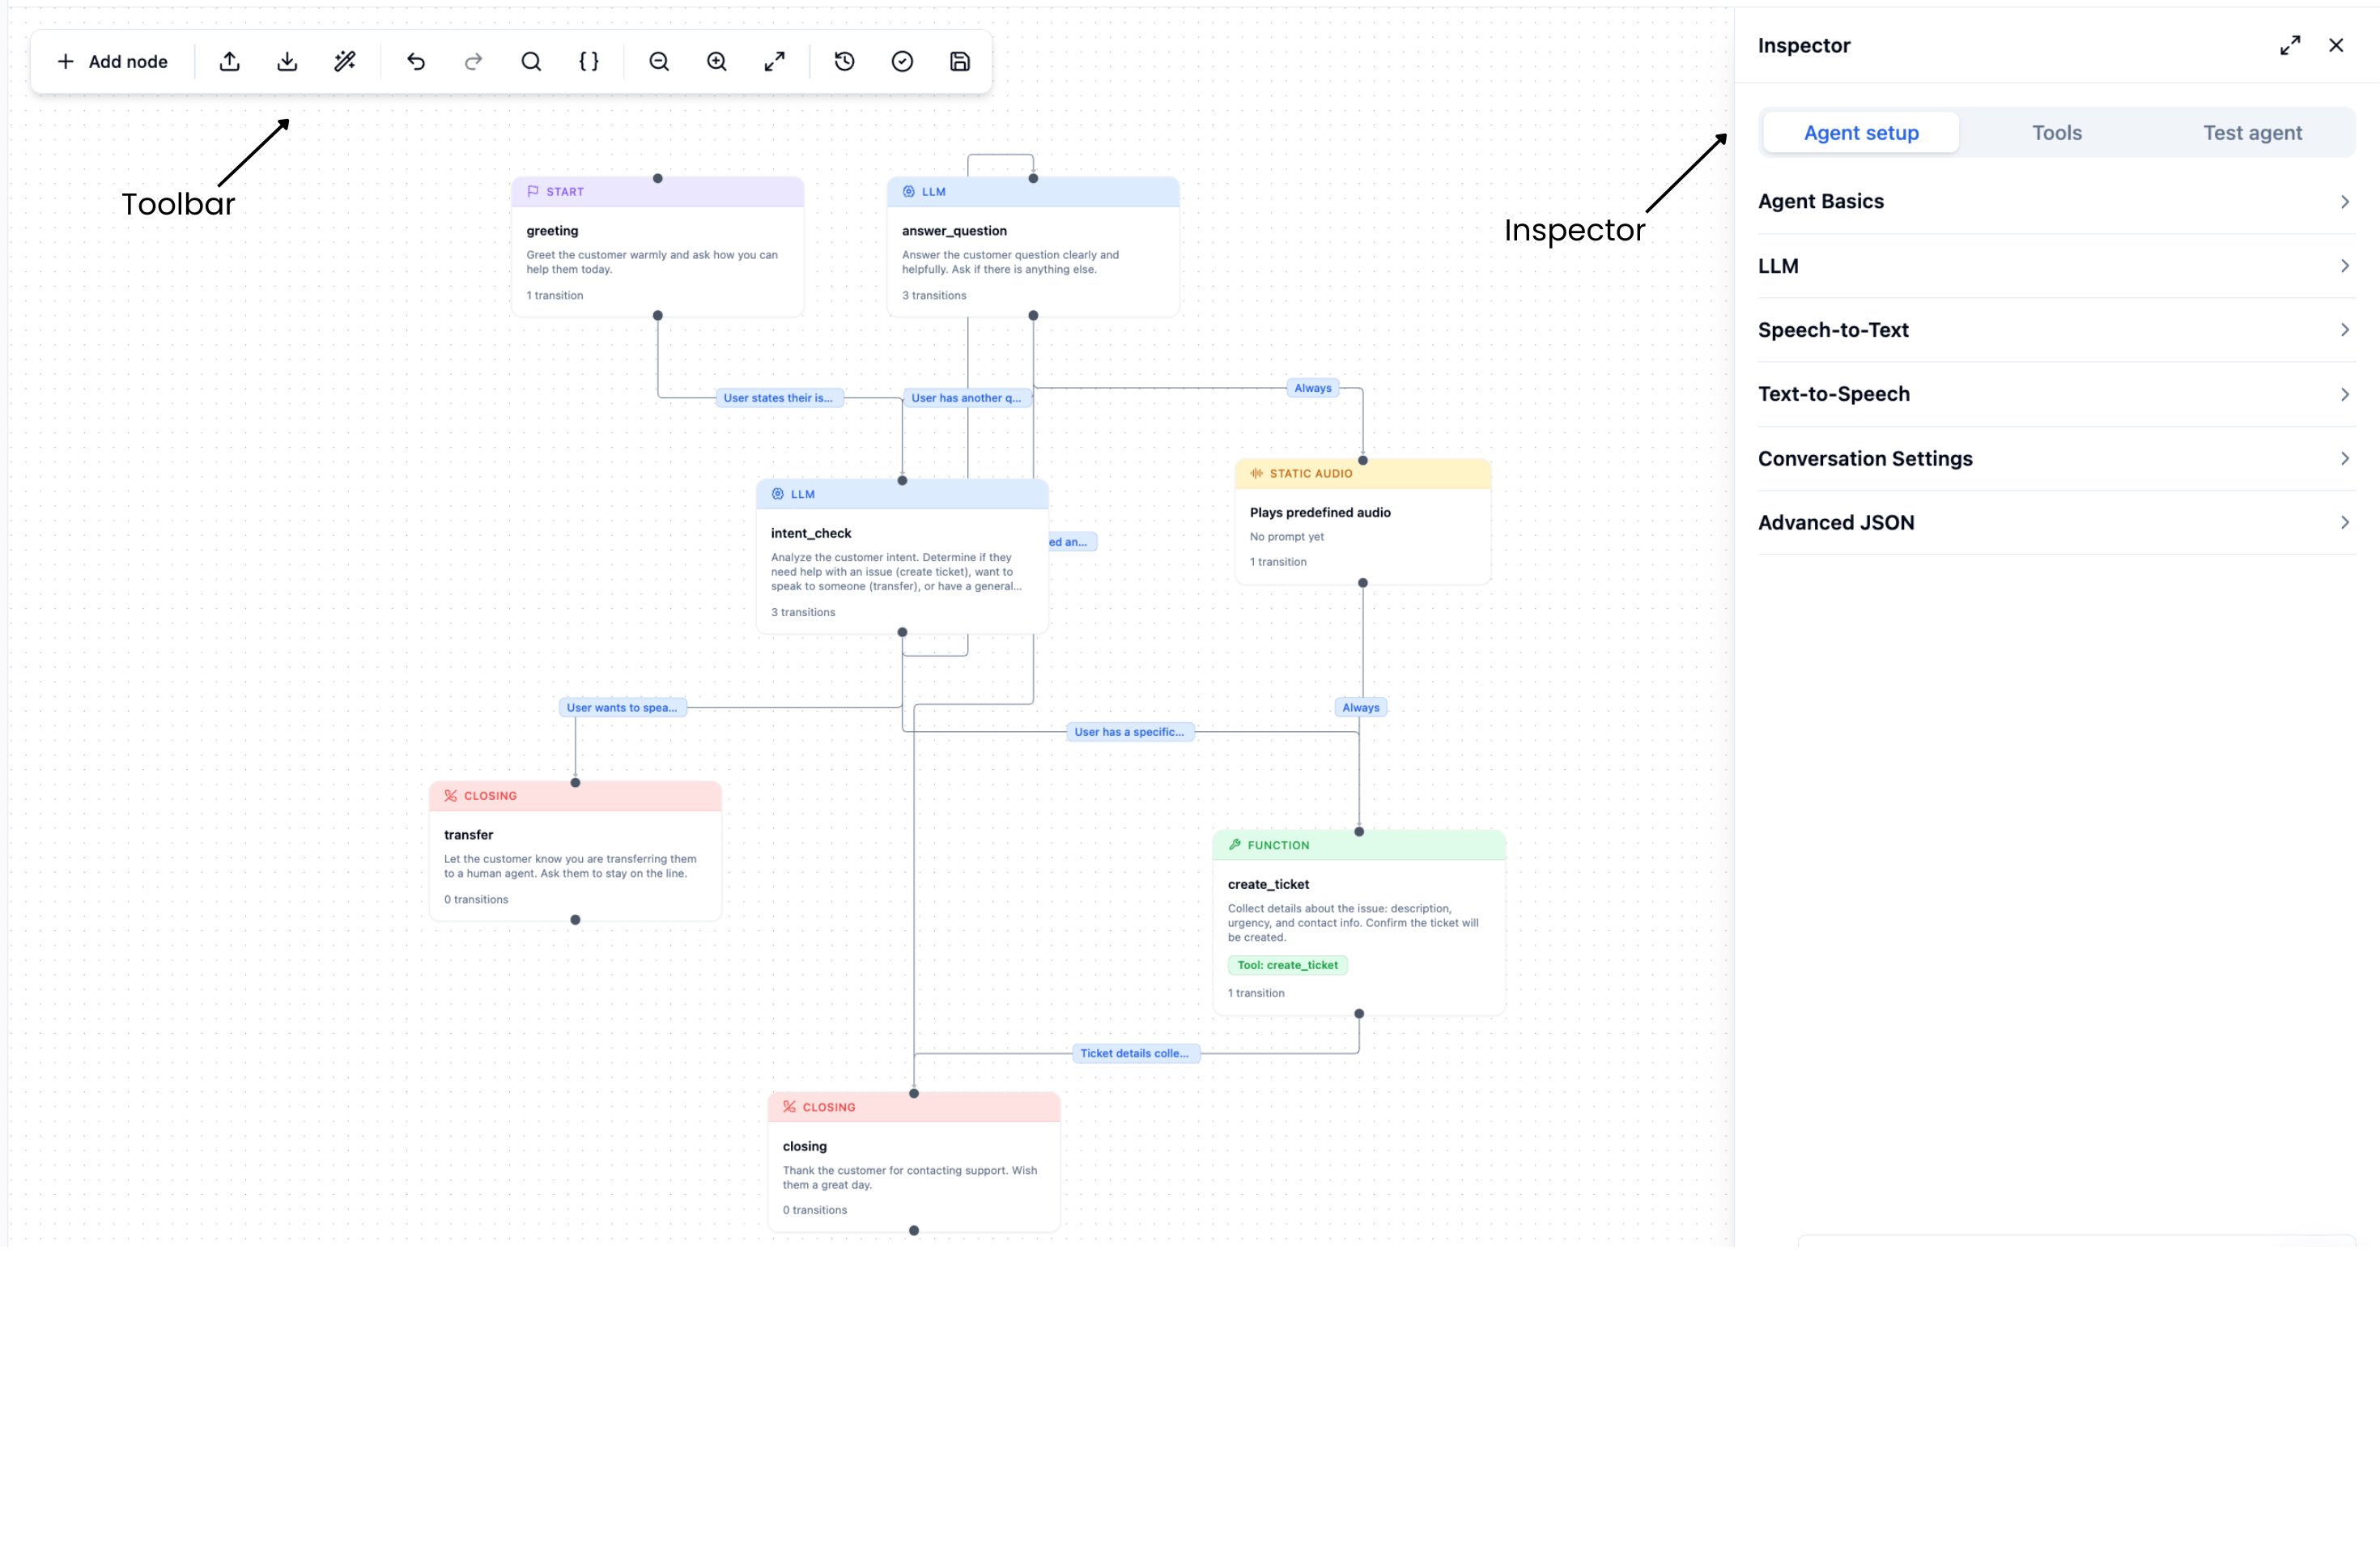
Canvas
The canvas is the central workspace where your graph lives. Each node appears as a card; each transition appears as a directed arrow between nodes.| Action | How |
|---|---|
| Pan | Click and drag on any empty area |
| Zoom | Scroll wheel, or pinch on trackpad |
| Select a node | Click the node card |
| Select a transition | Click the arrow |
| Deselect | Click on any empty area |
| Create a new node | Double-click on any empty area |
| Insert a node on a transition | Click a transition arrow to select it, then click Insert Node in the edge inspector |
Inspector panel
The inspector opens on the right side of the canvas. Its contents change based on what is selected:| Selection | Inspector shows |
|---|---|
| Nothing selected | Tabs: Agent setup, Tools, Test agent |
| A node | Node inspector — all node fields |
| A transition (arrow) | Edge inspector — condition, type, label, priority, parameters |
| Pending new transition | Create transition form |
Toolbar
The toolbar runs along the top of the canvas and contains all editor-level actions.
| Button | What it does |
|---|---|
| Add node | Create a new node at the centre of the canvas. |
| Import | Open a JSON file or paste JSON to replace the current graph. |
| Export | Download the current agent as JSON, or copy to clipboard. |
| Auto layout | Automatically arrange all nodes using a hierarchy layout algorithm. |
| Undo | Undo the last change (Cmd/Ctrl+Z). |
| Redo | Redo an undone change (Shift+Cmd/Ctrl+Z or Ctrl+Y). |
| Search nodes | Filter nodes by name, prompt text, or tool name. Matching nodes are highlighted on the canvas. |
| Variables | Open the variables panel to set values for {variable} tokens. See Variables. |
| Zoom out | Zoom the canvas out. |
| Zoom in | Zoom the canvas in. |
| Fit view | Fit all nodes into the visible canvas area. |
| Version history | Open the version history sheet to view and restore past saves. |
| Validate | Run validation and open the issues dialog. Shows a badge with the error count if issues exist. |
| Save | Saves the agent. The save icon changes colour when there are unsaved changes. |
Keyboard shortcuts
| Shortcut | Action |
|---|---|
Cmd/Ctrl + Z | Undo |
Shift + Cmd/Ctrl + Z | Redo |
Ctrl + Y | Redo (Windows) |
Undo snapshots are coalesced — rapid successive edits (e.g. typing in a prompt field) are grouped into a single undo step, captured after ~800ms of inactivity.
Next steps
Managing nodes
Create, edit, duplicate, and delete nodes in the canvas.
Managing transitions
Wire nodes together with intent, rule, and always-transition edges.
Agent setup
Configure welcome message, LLM, voice, and conversation settings.
Validation
Find and fix errors before saving.