

Opening the editor
Navigate to Workflows in the dashboard. Existing workflows are listed as cards showing their id, current status, and either their live version or Draft — never published.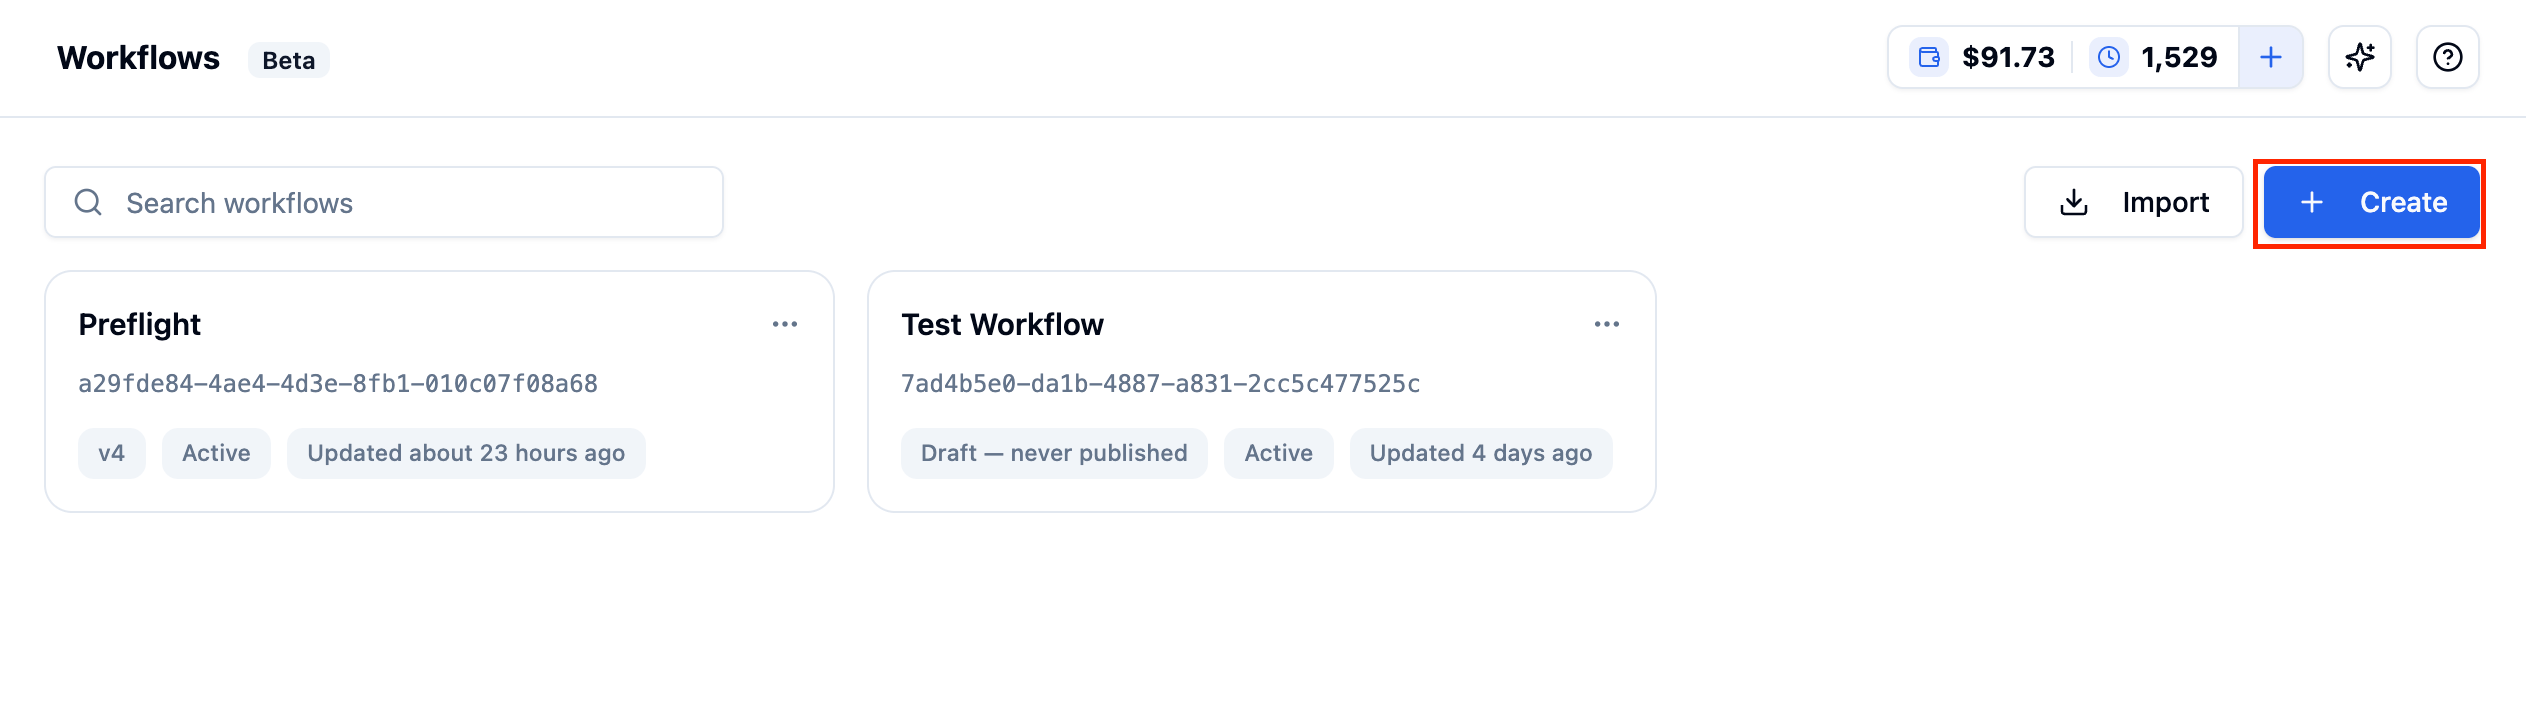
The Workflows list, with Create and Import in the top right
- Click Create to start a blank workflow. It opens directly in the editor with a single
Startnode already on the canvas. - Click Import to clone an existing workflow by its id — paste the source workflow’s id and optionally rename the copy.
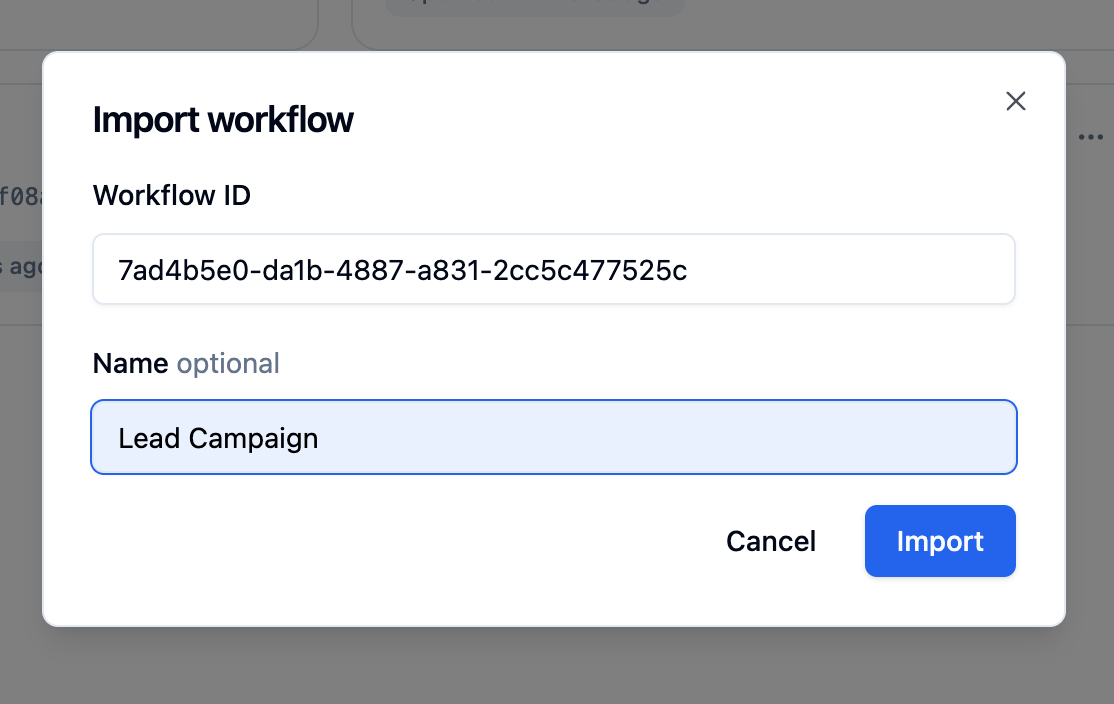
Importing a workflow by id
Editor layout
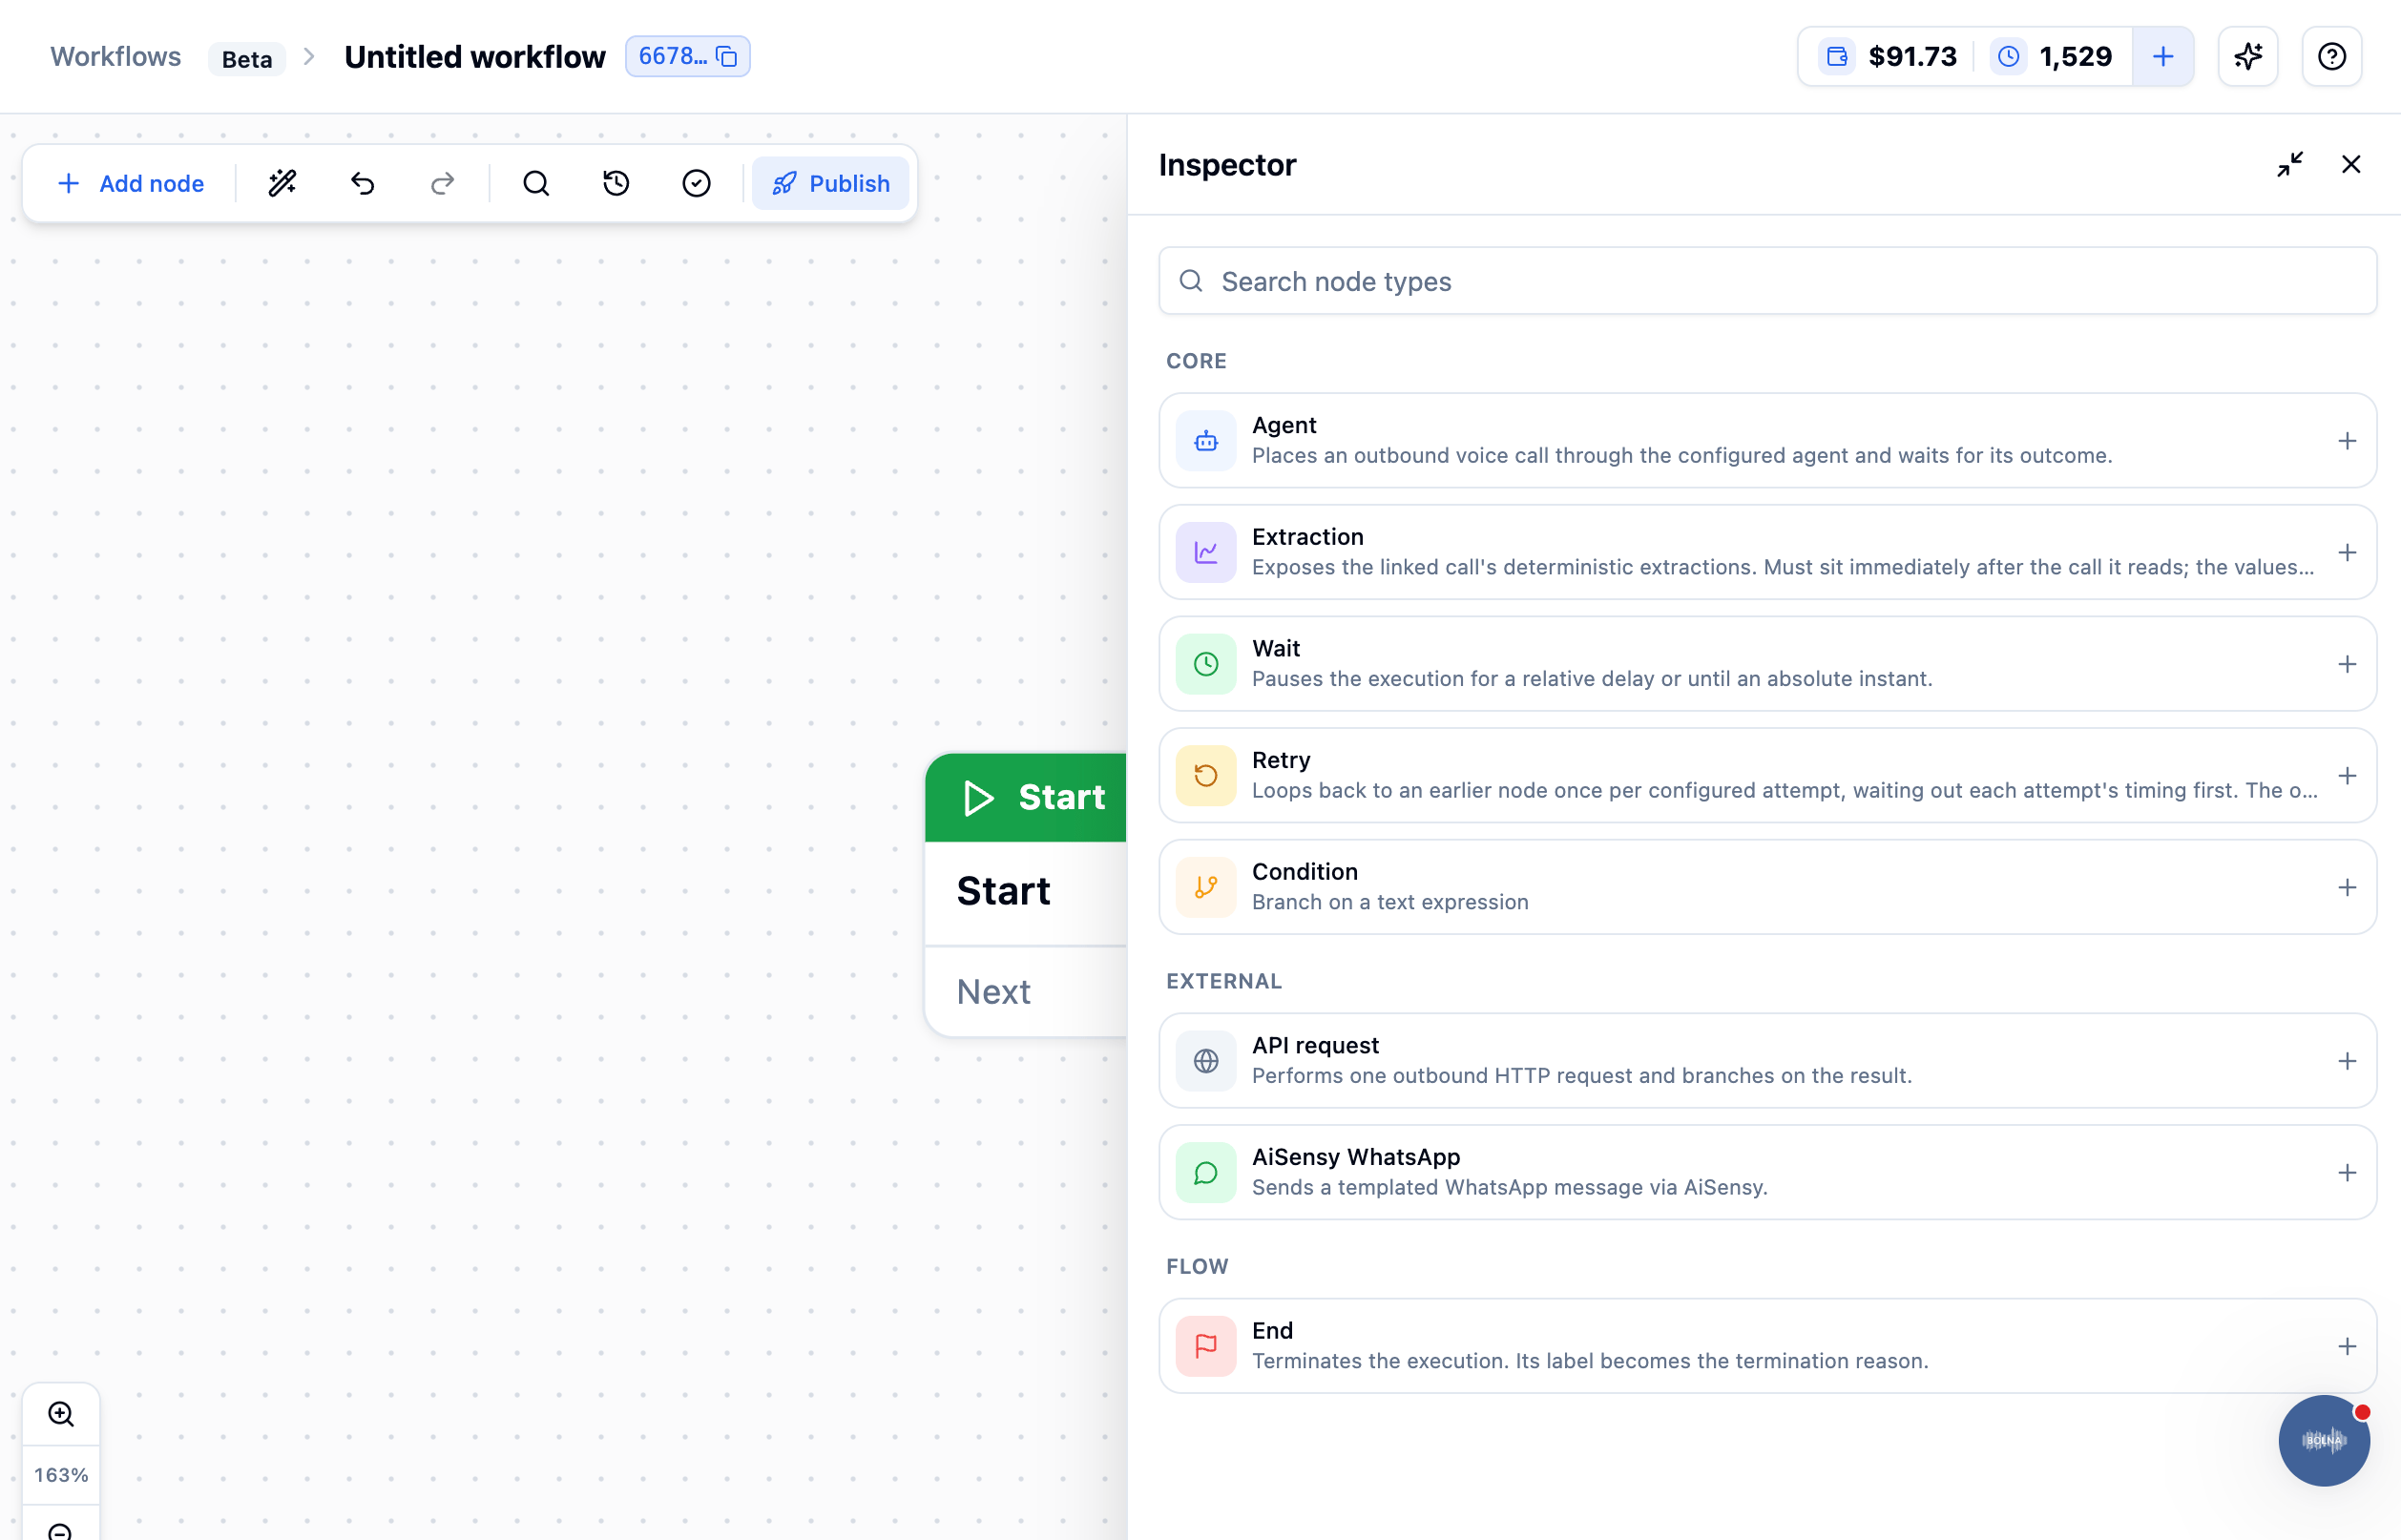
A freshly created workflow, with the Start node placed and the node catalog open in the Inspector
Toolbar

The editor toolbar
Adding a node
Click Add node to open the catalog in the Inspector. Nodes are grouped the same way as the node reference: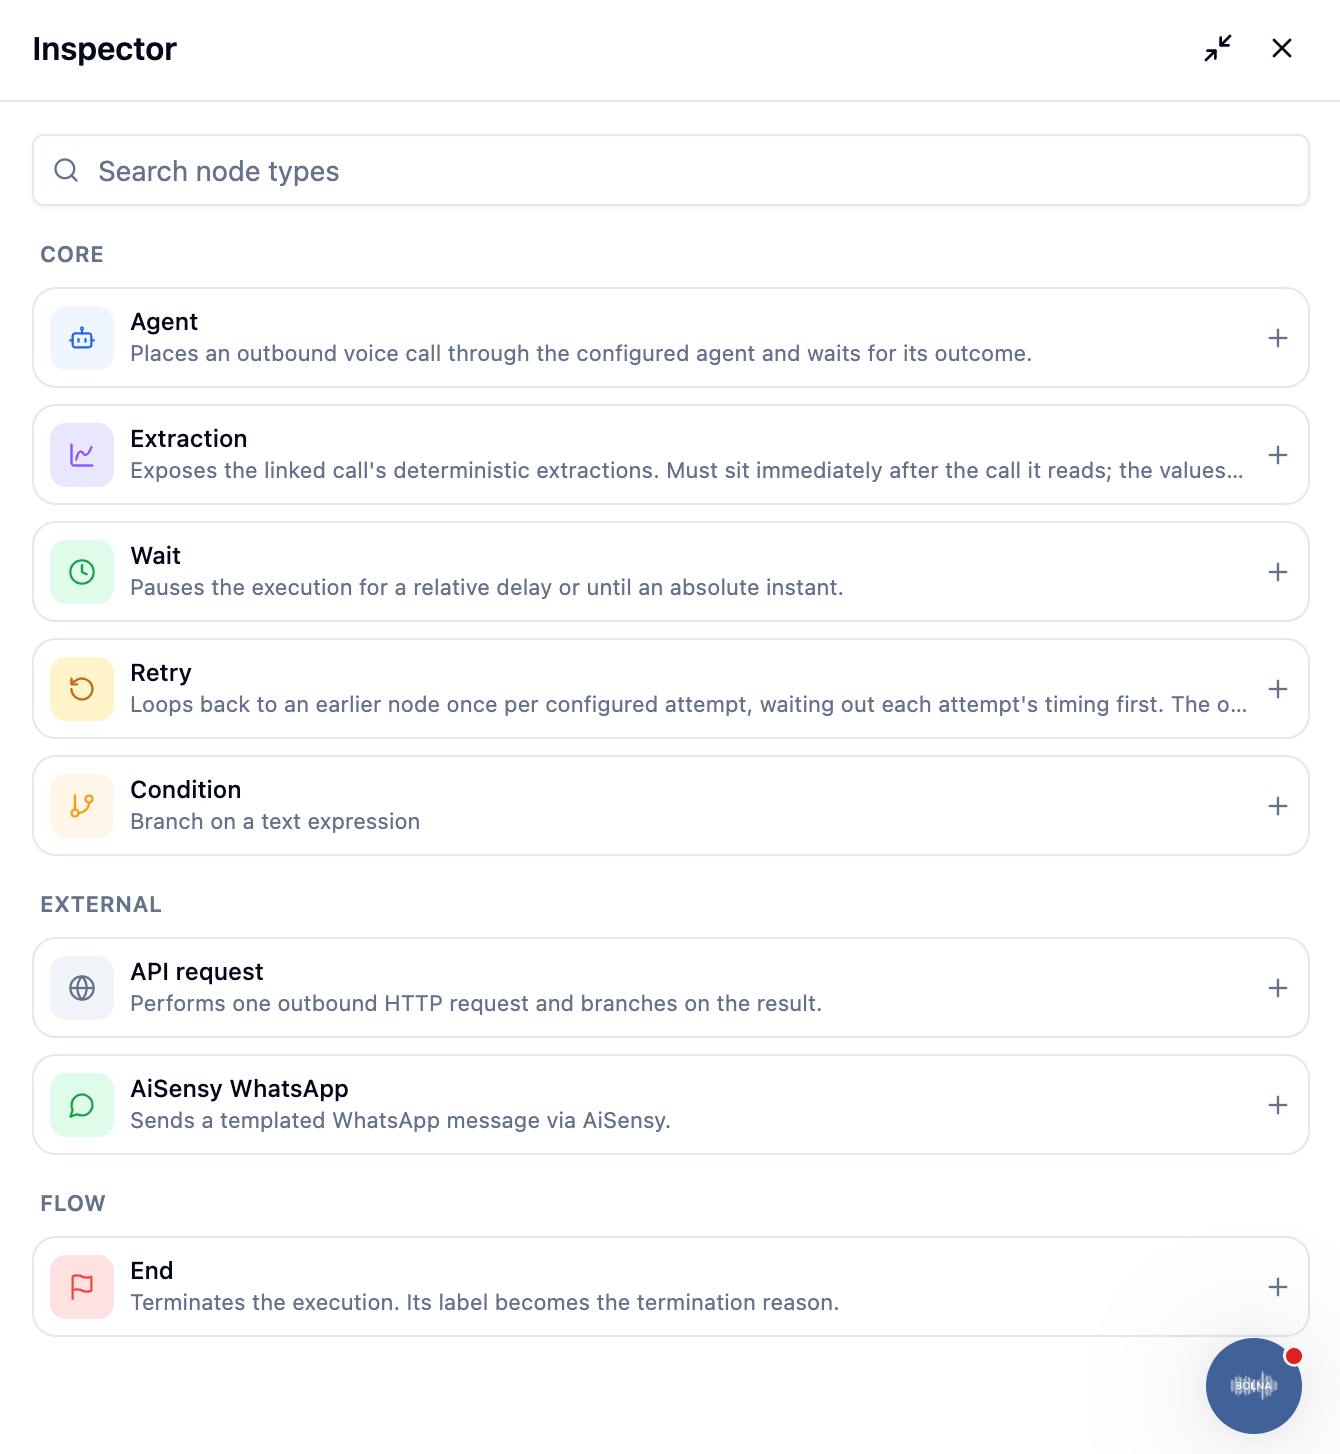
The node type catalog, grouped into Core, External and Flow
Click a node type’s + to drop it on the canvas, then connect it and open it to configure its fields — the same fields documented per type in Workflow Nodes.
Wait here is the time node type in the API, and Condition is a branching-only node for evaluating an expression without any side effect, alongside the cases every other node type already carries.
Adding a node from an existing one
Hovering a node on the canvas (or opening it in the Inspector) shows a small toolbar with three icons — duplicate, +, and delete: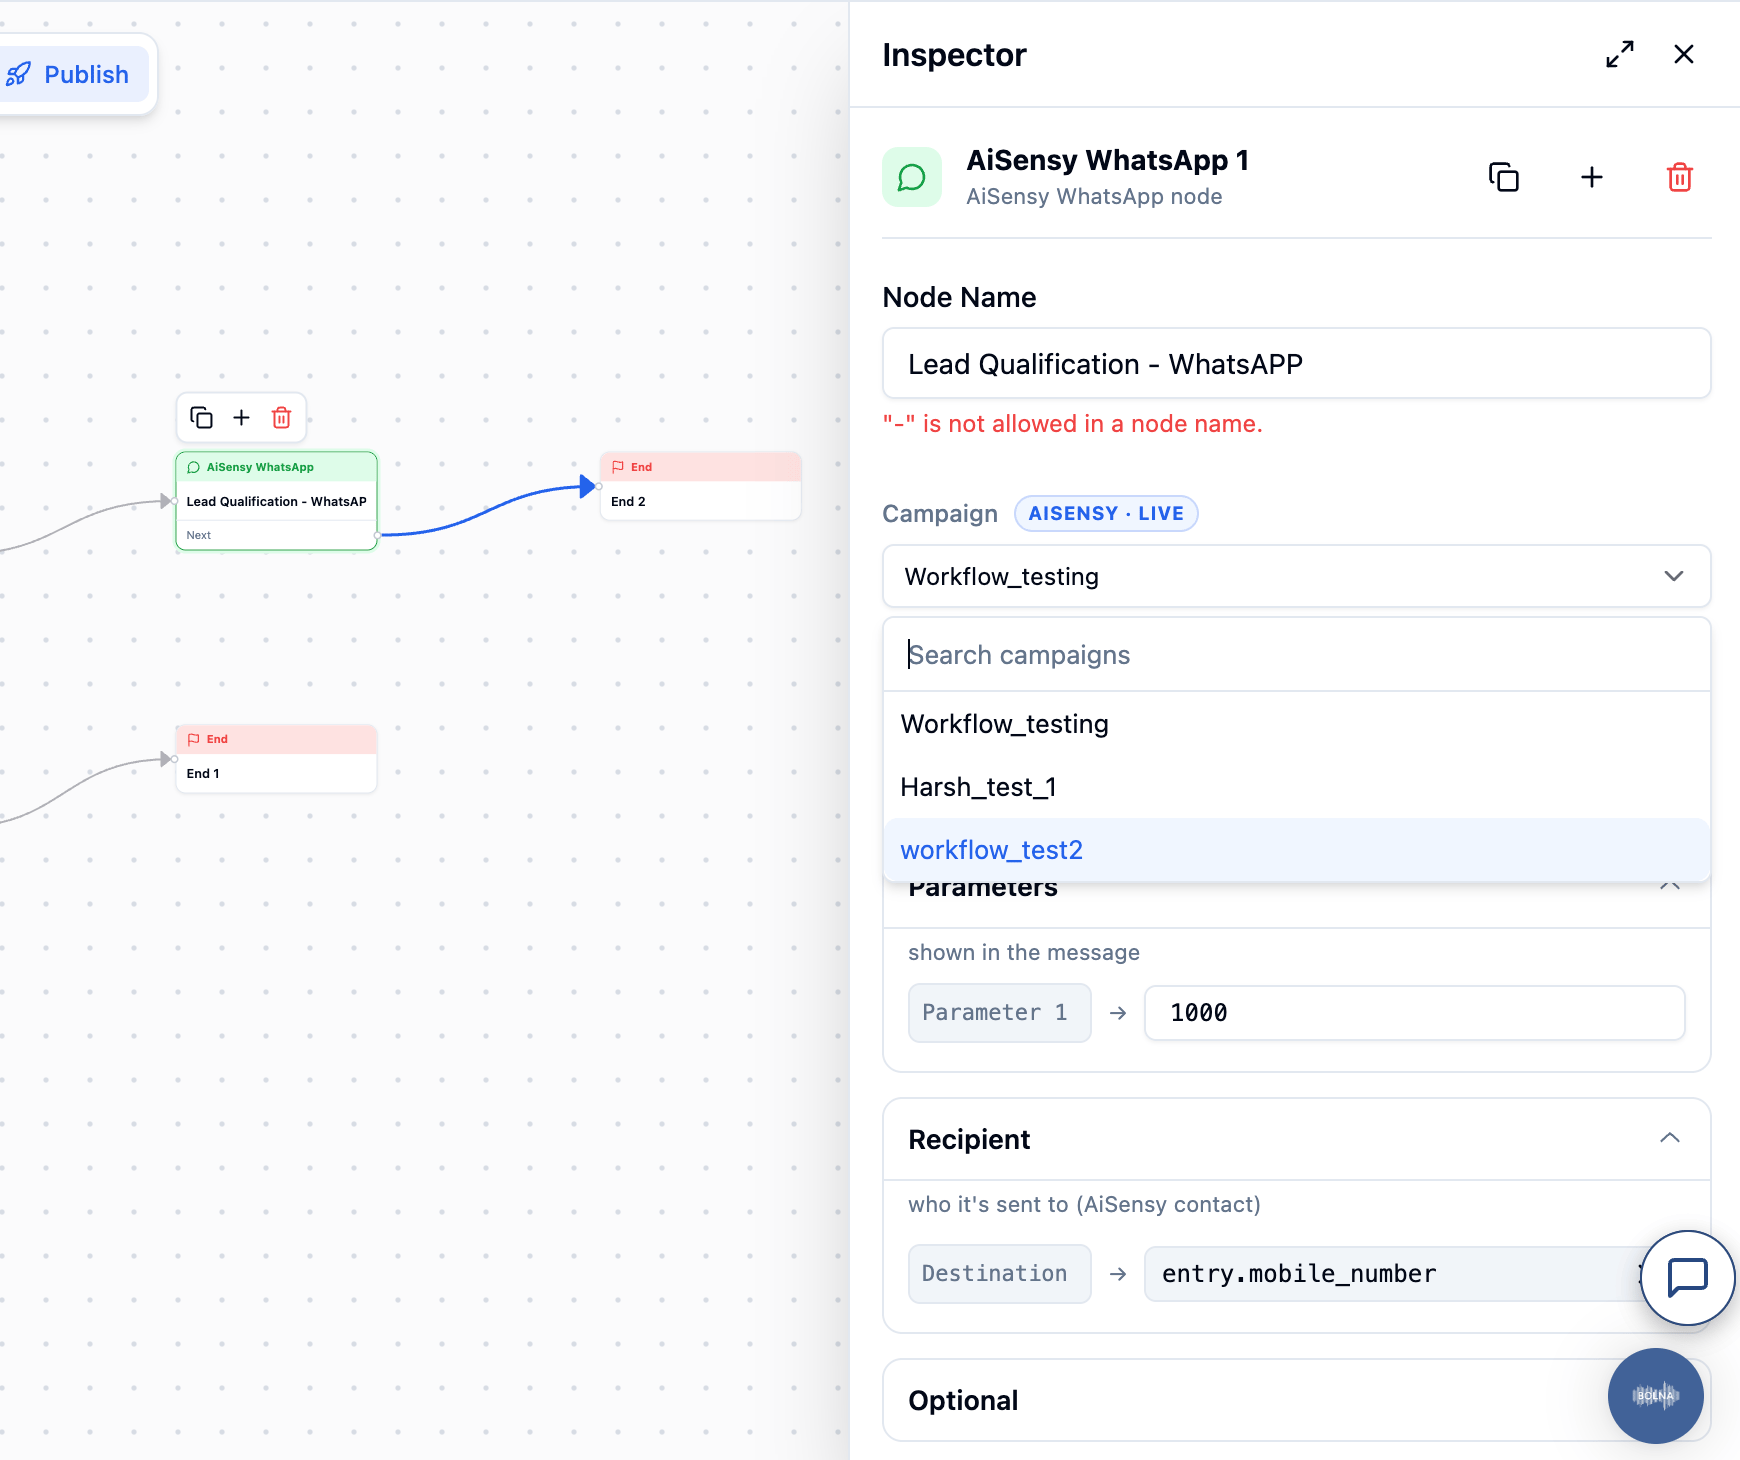
A node's hover toolbar, with duplicate, add and delete icons
Finding a node on a crowded canvas
Once a workflow has many nodes, use the search (magnifying glass) button to jump to one by name or type, rather than scrolling and panning: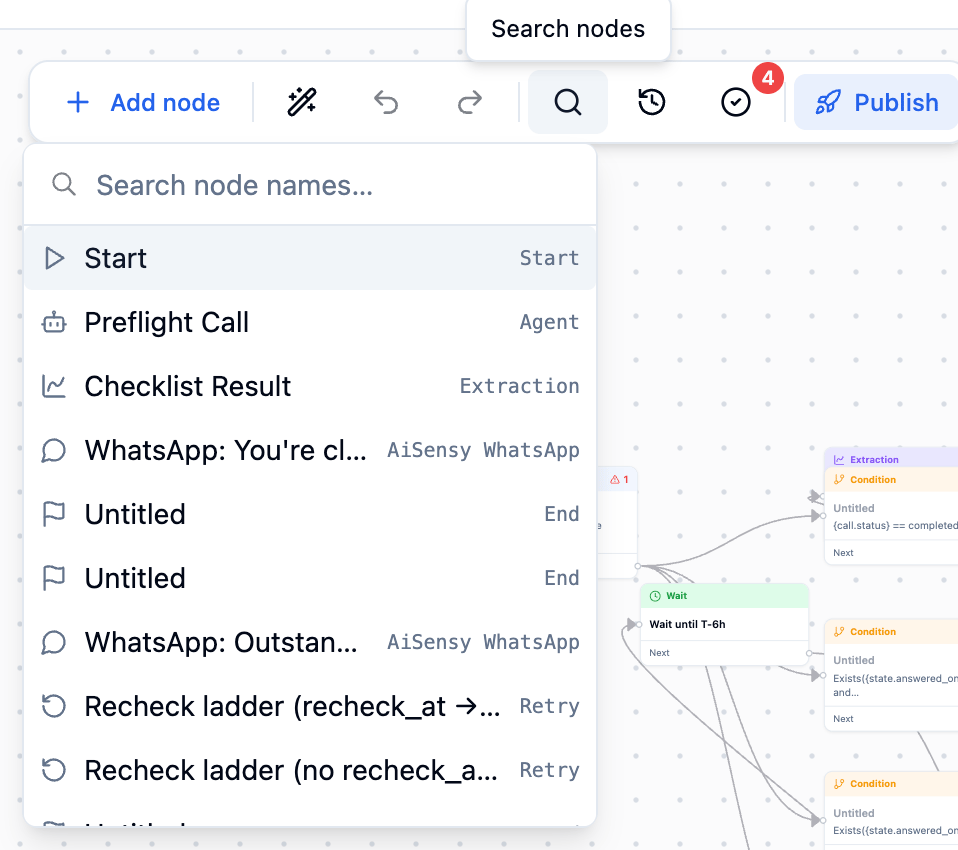
Searching nodes already placed on the canvas
Validating
Click the checkmark button to validate the current draft without publishing it. A badge on the button shows the number of unresolved issues, matching theseverity: "error" count the Validate API would return.
If there’s no unpublished draft to check — for example, right after a fresh publish — validating says so instead of returning an empty issue list:
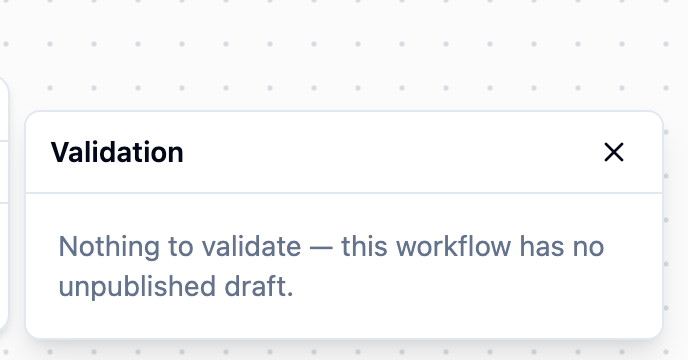
Validating with nothing pending
Version history
Every publish creates a version, exactly like the Publish API. Open History to see them all, newest first, with the live one marked Current: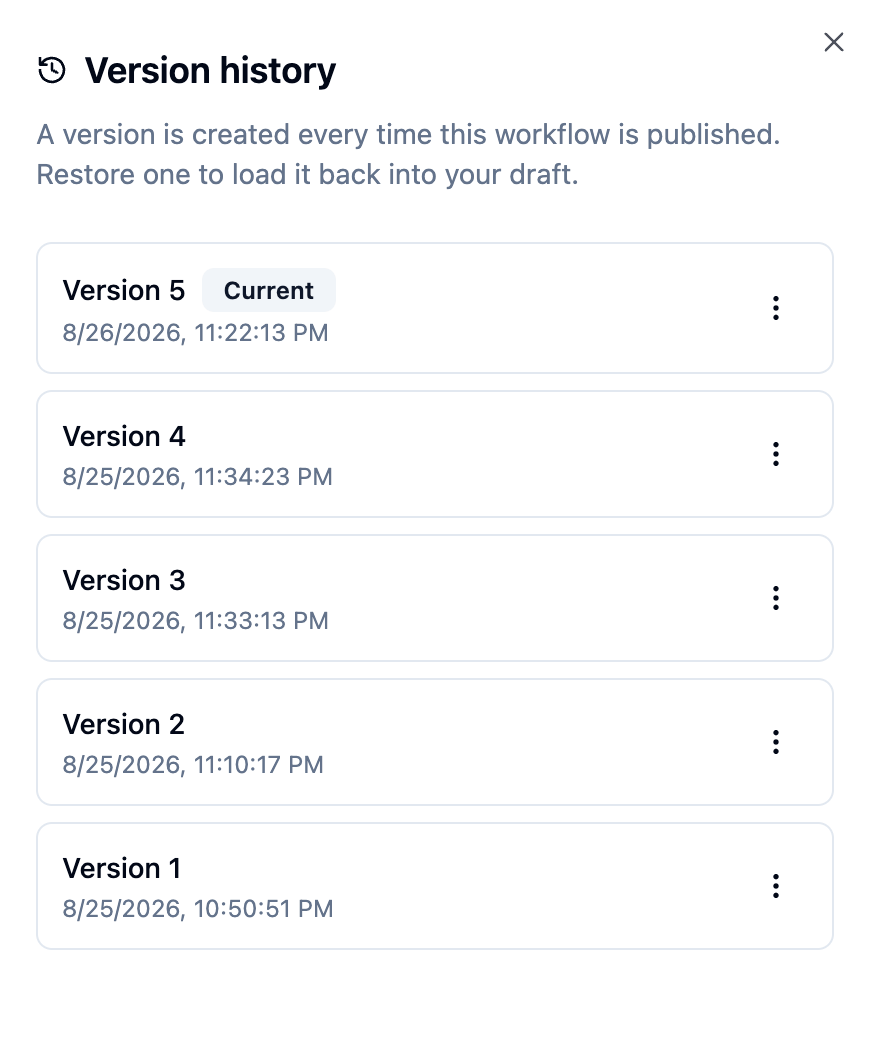
Version history for a published workflow
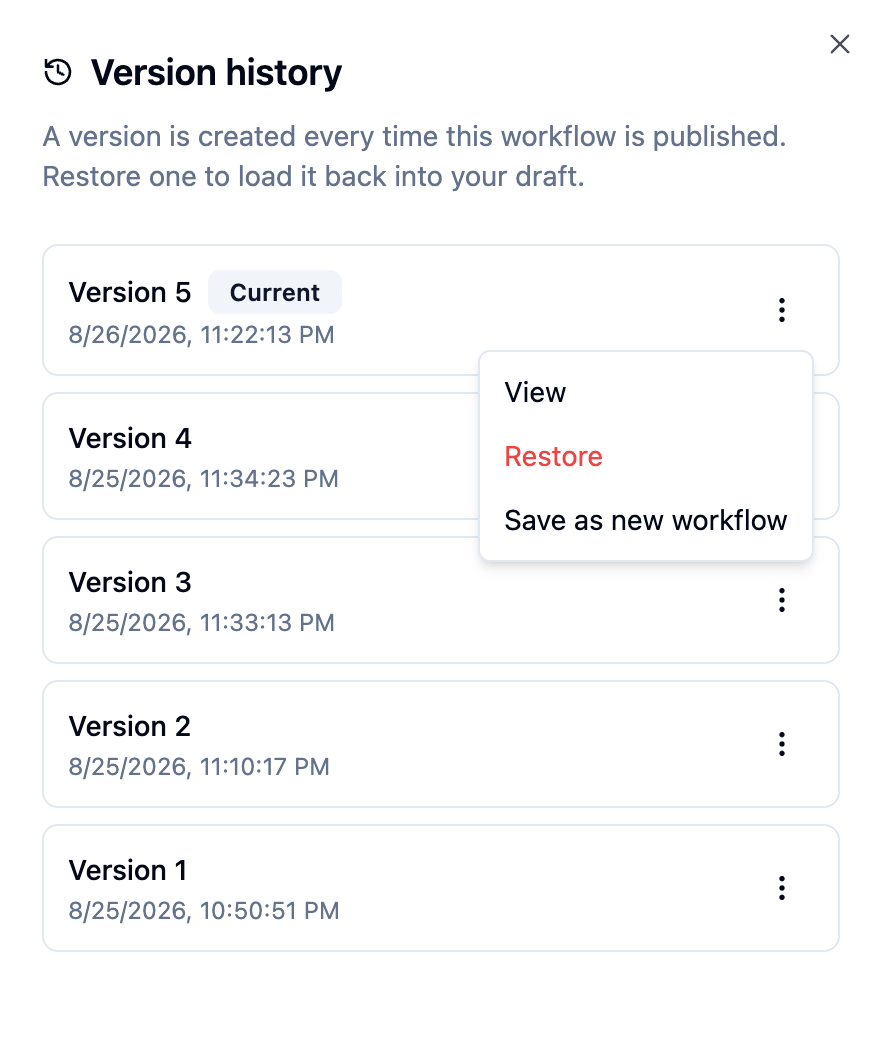
Actions on a past version
- View — opens that version’s definition read-only.
- Restore — loads it back into the current draft for further editing. This doesn’t publish anything by itself; you still validate and publish the restored draft like any other edit.
- Save as new workflow — copies that version into a brand-new workflow, leaving this one untouched.
Next Steps
Workflow Nodes
Every node type’s configuration, in detail
Quickstart
Build the same workflow from the dashboard and the API, side by side